Firmware upgrade procedure
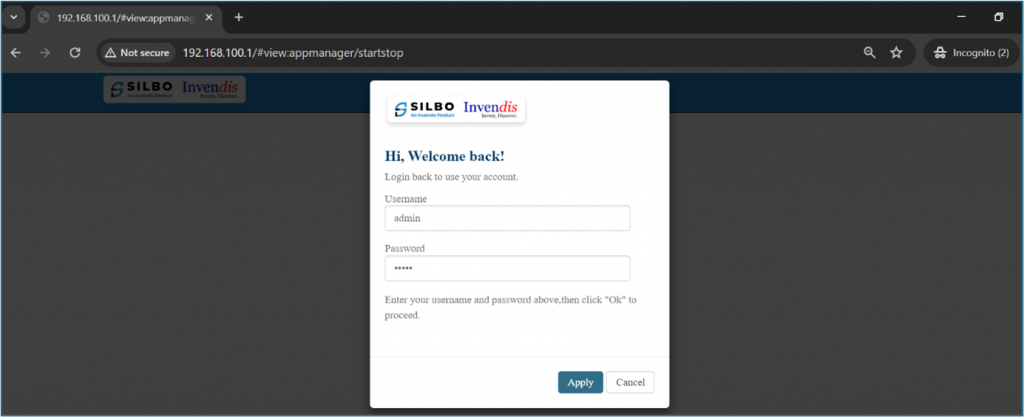
Login to GUI of device
Connect router to Laptop or Desktop using a LAN connection or connect over Wi-Fi.
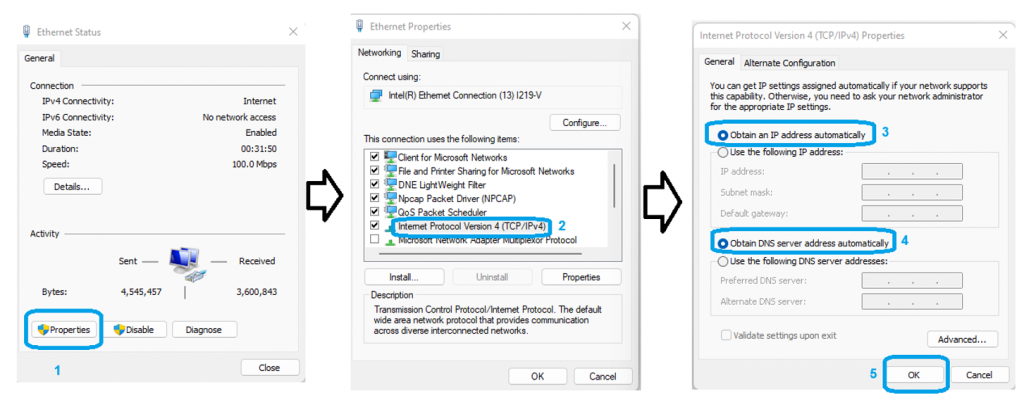
Make sure the laptop/desktop LAN/Wi-Fi interface is in DHCP mode.
How to make LAN/Wi-Fi network interface in DHCP mode into Windows Operating system?
To configure a LAN or Wi-Fi network interface in DHCP mode on a Windows operating system, follow these steps:
Press Windows + R, type ncpa.cpl, and press Enter to open the Network Connections window.
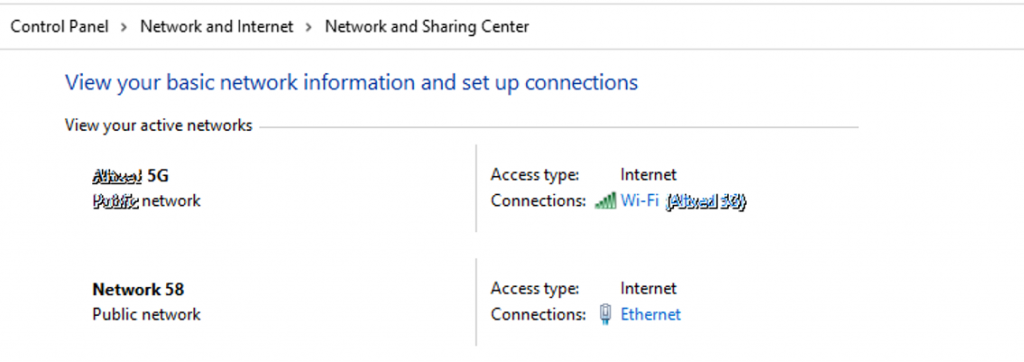
And locate the correct LAN/Wi-Fi interface which need to be configured as DHCP client or go to below path in the system.
Control Panel\Network and Internet\Network and Sharing Center.
 In the above image select the interface Ethernet or Wi-Fi and change the IP Version 4 (TCP/IPv4) and set in DHCP as shown in below image.
Note: Make sure the router’s DHCP server is not disabled if it is disabled then windows system should be configured with static IP “use the following IP
address” option in above image.
Use default IP of router to access GUI.
For LAN it is 192.168.10.1 and for Wi-Fi it is 192.168.100.1 can be used to acces router in using any browser.
Note: For filed routers if the IP address is changed then the new IP belongs to interface should be used.
Default credentials to login are username/password : admin/admin but if the credentials are changed then use the correct credentials.
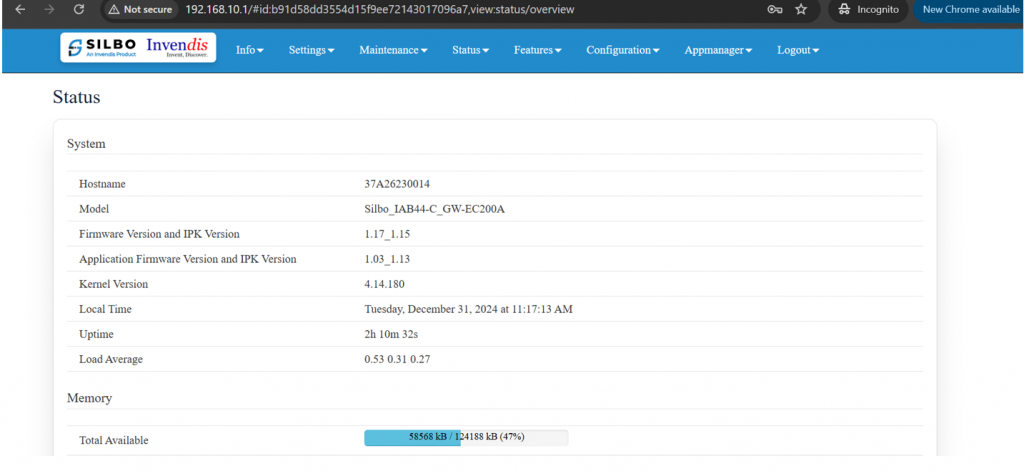 Once logged in to GUI the above screen can be seen where actual information of the device will be present.
Note: All the SILBO routers/gateway with model number RBxx, IAxx-x,RCxx, RDxx, GRDxx, RFxx,IExx etc GUI is same so the proces remains same.
Firmware Upgrade
We Invendis are commited to give better software for our SILBO router and to do that we keep on adding new features and also fix issues if anything suggested by our customers partners and with the changes we keep on releasing new Firmware which we also update on our Wiki page https://wiki.silbonetworks.com/index.php/Main_Page
The new FW can be downloaded and to update it follow below procedure.
Login to GUI and navigate to Maintenance>>Firmware Upgrade and click on Flash image / Retain Config and Flash option to update FW.
Choose the correct FW file and install the FW as below.
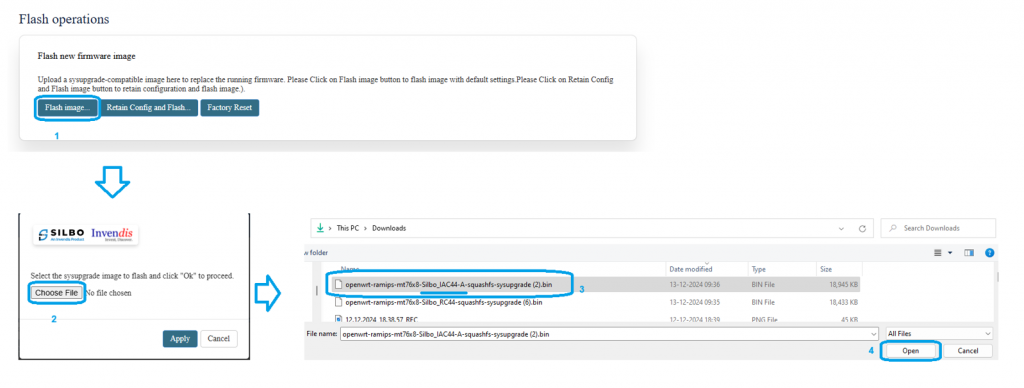 Then click on apply and if the verification is successful then FW upgrade process will start and after few minutes you can take access of router with Default IP address.
The time require to update FW depends on the old and latest FW image between 2-5min.
Once FW is updated it can be seen on the dashboard just below Host name / Serial number of the router.
Detailed procedure is also available on https://wiki.silbonetworks.com/index.php/Configuration_Manuals

